The average layman often does not realize that “sound proofing” is really two separate processes going on at the same time:
- Reducing noise levels of sound from outside your studio getting into your studio (and vice versa).
- Making things “sound good” inside the studio itself.
The first one is, broadly speaking, the hard part. You need some combination (preferably all of it) of high-density wall/floor/ceiling materials, physical uncoupling of the studio from the building around it (aka “room within a room, mounting on rubber or springs”), baffled HVAC air ducts (and uncoupled data/power conduits) and careful sealing of any gaps, doors, and windows.
Fortunately our client WMVY (aka MVYRADIO) already had a lot of that in their studios. What they didn’t have was the second one.
Making things “sound good” in a studio is technically easier, but it’s more esoteric. It’s mostly about avoiding natural points where sound waves interact constructively in a bad way (aka distortion) and about putting absorption in the correct locations to avoid slap echoes. It’s also about where and how you mount your speakers, relative to where your DJ’s typically are positioned within the room.
The funny thing, from my perspective, was that each time we improved the acoustics? We discovered there was something else that was a problem that the thing we fixed was masking! For example, at one point the monitor speakers in the Air Studio were sitting on stools in the corners of the room. Way too low, and too far apart. We mounted them on the walls at the right height, spacing, and angle, and suddenly the room had great stereo imaging….but it also suddenly had slap echoes like you wouldn’t believe! The walls were too bare to compensate for such huge amounts of window panes in the studio.
This led to several discussions and eventually to a big project to add acoustic panels to all the studios (which all had similar issues), as well as the big “multi-purpose room” (or MPR) where there’s plans to have more live music performances. Now ideally this would’ve been done during the architectural design & construction of the studios, because one of the bigger problems trying to do this “after the fact” (and it was an issue for us) is simply finding enough surface area undisturbed by light switches, thermostats, data jacks, artwork, windows, doors, fire alarms and the usual myriad array of “things” that end up on walls.
Proper acoustic panels typically are a wooden frame, a couple inches deep, filled with fiberglass batting. That’s what does the actual absorption of a slap echo. Then the whole thing is wrapped in muslin cloth (in a color of your choosing) to hold it all together and make it look nice, while also being acoustically transparent so the batting can do its job.
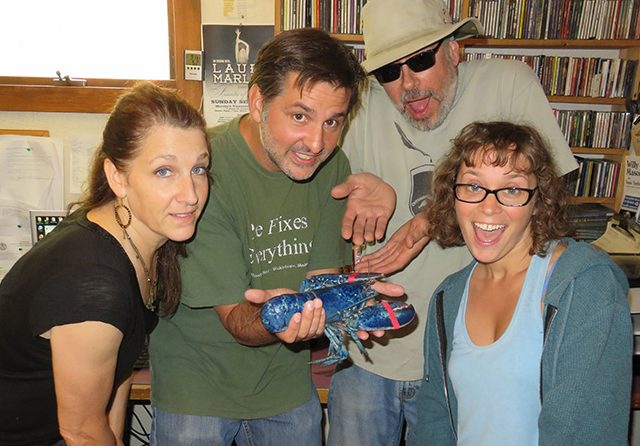
You can, if desired, order these panels from certain vendors with 4-color custom images printed on them. That’s really cool but it’s also really expensive, like a few hundred bucks per panel. So for this project, MVY elected to go with a light blue that fits their overall “blue lobster” color scheme in the building.
Now I mentioned “slap echoes”, what are those? If you’ve ever stood in an empty room with hardwood floors and literally nothing on the walls, and clapped your hands? You’ve heard slap echoes. They’re when sound ricochets back and forth off the hard surfaces of the walls, floor and ceiling. Acoustic panels work well on slap echoes. They tend to be most effective on frequencies from about 150 Hz and up. If you’ll recall: human hearing spans from ~20Hz to 20,000 Hz. (Although you lose a lot of sensitivity at the high end as you get older.) The higher the frequency of sound, the more reflective the walls (or other flat surfaces, like glass windows) tends to be, but also the higher the attenuation as it passes through air.
Inversely, as the sound’s frequency gets too low, the wavelength gets too long, and the problem goes beyond reflection and into resonance; panels like this don’t help much with that. You need things like bass traps instead, which deal with low-frequency sounds that tend to linger in corners of rooms (and where the walls meet the ceiling) and they interact constructively and/or destructively…which then become audible as distortion. It’s a similar concept to an acoustic panel, but the placement/execution is rather different.
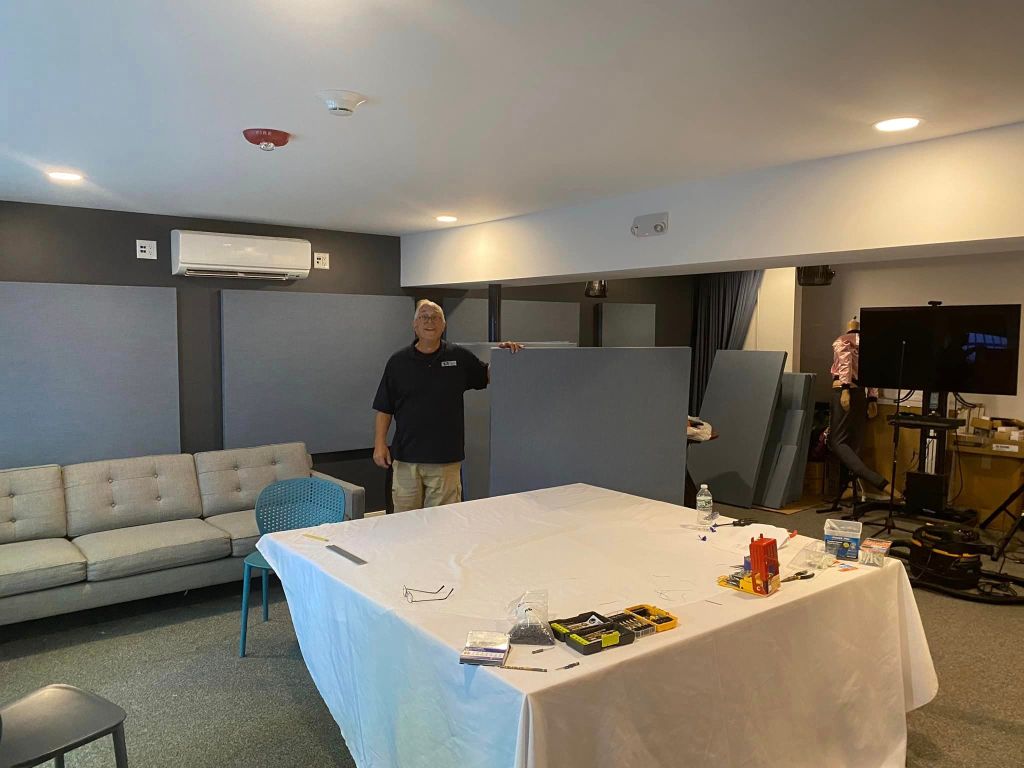
After many careful measurements, we sent our order off to the vendor, and a month later a couple dozen panels of various sizes arrived via freight shipment. LeClair and I came out to the island planning on spending two days setting everything up.


The first thing we did is push several tables together and cover them with multiple white tablecloths. This is so we had a large, soft workspace to attach all the “z-plates” (seen at right) to the panels for wall mounting. This is an exacting and demanding process, because you need to get it aligned just right lest your panels all end up crooked. Fortunately the panels aren’t terrible heavy, just kind of bulky. So only one z-plate is needed for each panel, usually, or two at the most. Measure it carefully, (and then do it again, and again!) mark the drill points, drill the holes, carefully screw the z-plate into place (the frames are hollow, so it’s very easy to screw too far/hard and strip it), and then double-check your work!
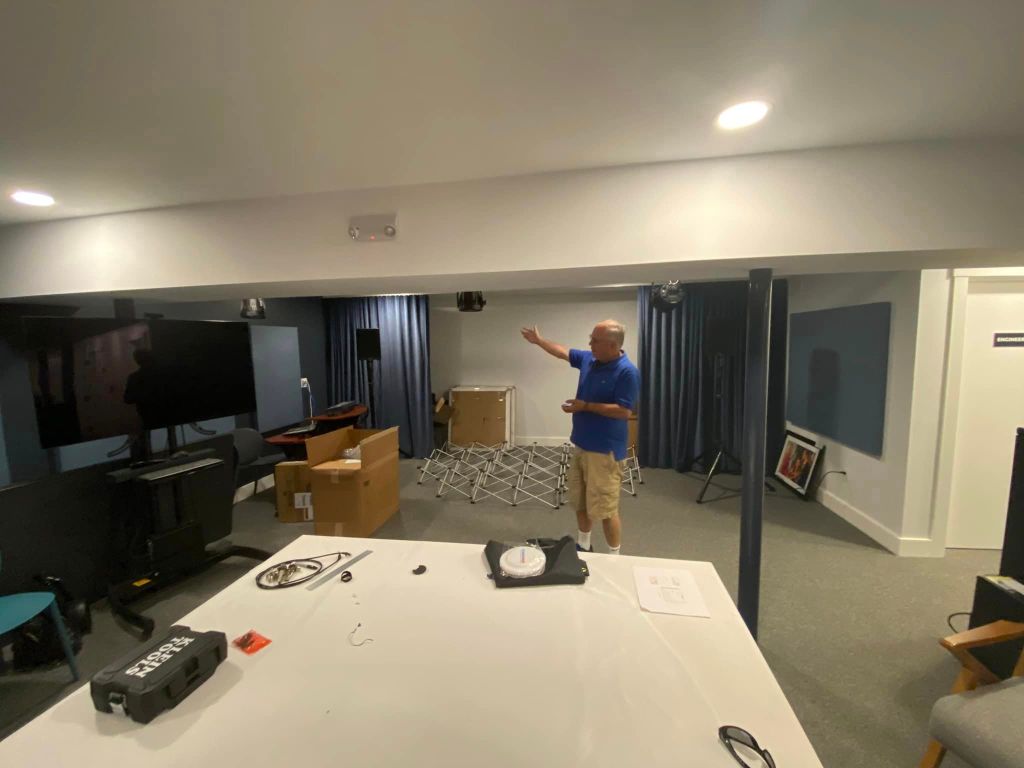
With the z-plates mounted to the panels, we then proceed to prepping the location on each wall. For this we had a gimbaled laser projector on a tripod and holy cow does that make life so much easier! Knowing the exact line where your wall-mount z-plates should go makes it a breeze to ensure all your panels will be straight and level. Again, check your measurements (preferably two or three times) mark the holes, drill a small hole in the sheetrock, screw in the anchor bolts, then screw in the screws through the z-plate into the anchor bolt, and finally double-check your work! Hang the panel, and move on to the next one.

An important thing to keep in mind is that you don’t need to have the entire wall covered in sound absorption in order to deal with slap echoes and bass traps. In fact, you may not want it entirely covered, as that can lead to the room sounding too “dead”. More like 50% is pretty good, sometimes as little as 25-30% is sufficient. You’ll notice in these pics that the panels seem pretty large and seem like they might be covering the whole wall, but they’re often not. When you measure the actual square inches covered vs bare, they’re usually around 40 to 50% in each room’s wallspace, and we didn’t cover the ceilings mostly because they’re too low…just 7′ 9″ at best, so panels aren’t going to help much and they’ll bonk into peoples’ heads…but also because there is wall-to-wall carpeting in place which does help at least a little. There’s other places we can leverage panels to better effect.
Since a slap echo is sound bouncing back-n-forth from opposite walls, you don’t need absorption on both those opposite walls, either. Only one side is necessary, or two walls in a four-walled room. In MVY’s case, we often did put panels on both sides mostly just because there wasn’t enough available wallspace to put the panels where they technically “ought” to be. Also we needed a certain amount of panels in various places for bass trap purposes, too.
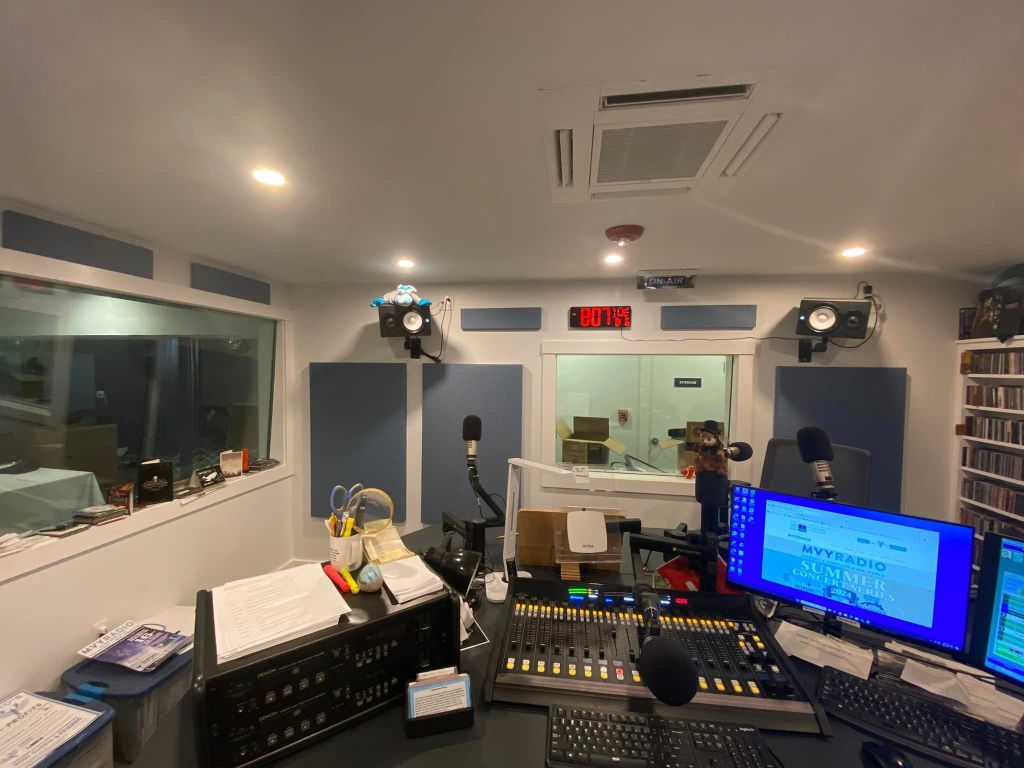
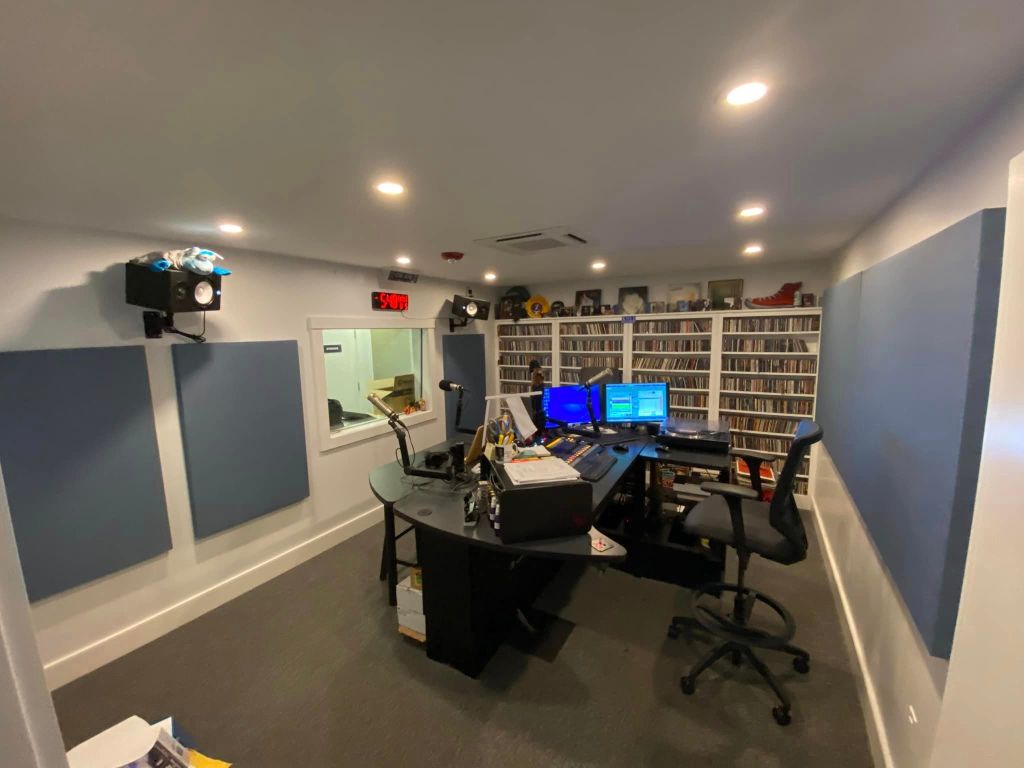
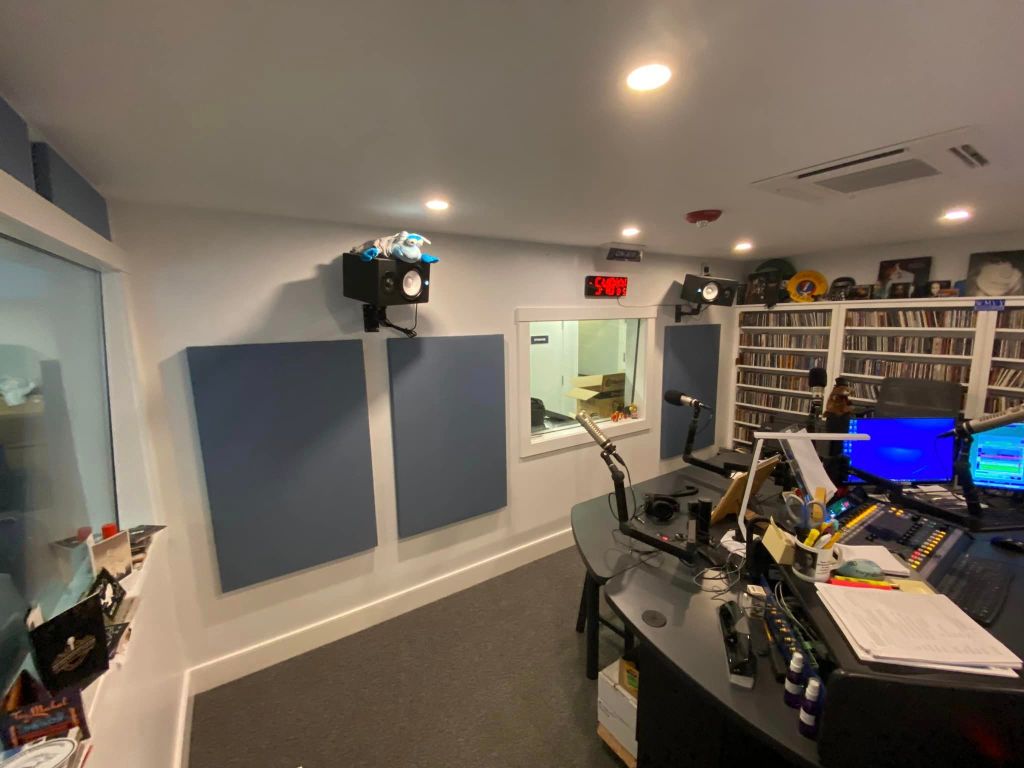
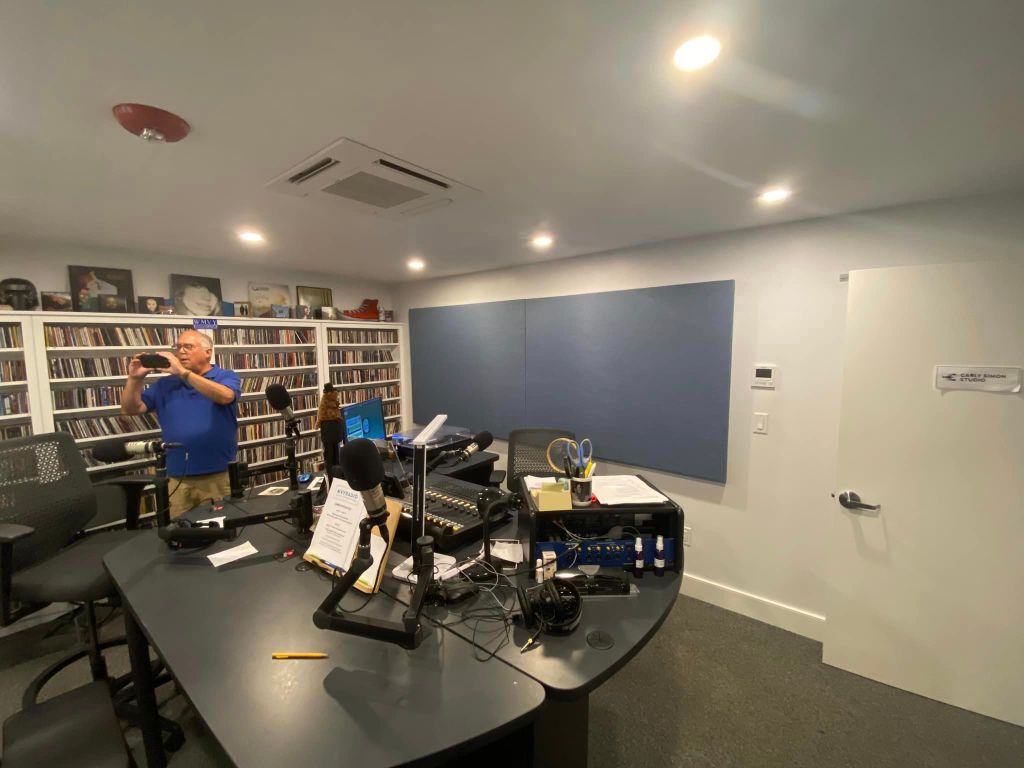
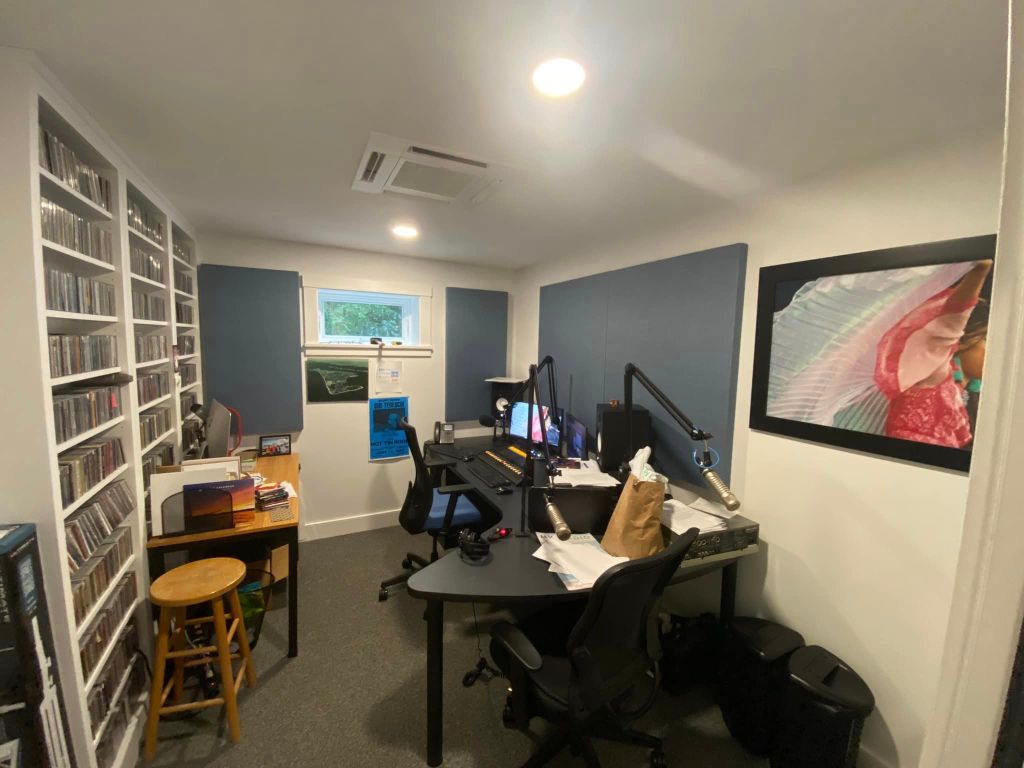
Here are several images of the On Air Studio of MVY. The windows, panels and speakers are all at slightly weird spacing because the room was designed and built and then different furniture was employed. So we ended up with an odd layout but I think it looks pretty good, all things considered. Notice that there’s little panels above both of the windows? Those admittedly aren’t doing much, but they’re better than doing nothing.
Arguably half (or all) of the CD shelves should be removed and more acoustic panels put in their place…but the music lovers would’ve screamed bloody murder over that and I guess I can see their point. 🙂 It also doesn’t hurt that the nature of the shelving, CD’s, and stuff makes for an irregular (not flat) surface that helps reduce reflections as well.
Note that the windows are tilted slightly; this also helps with slap-echoes as the window surface…which is very reflective…reflects the sound waves downward into the carpet (which absorbs them) and furniture (which breaks them up).
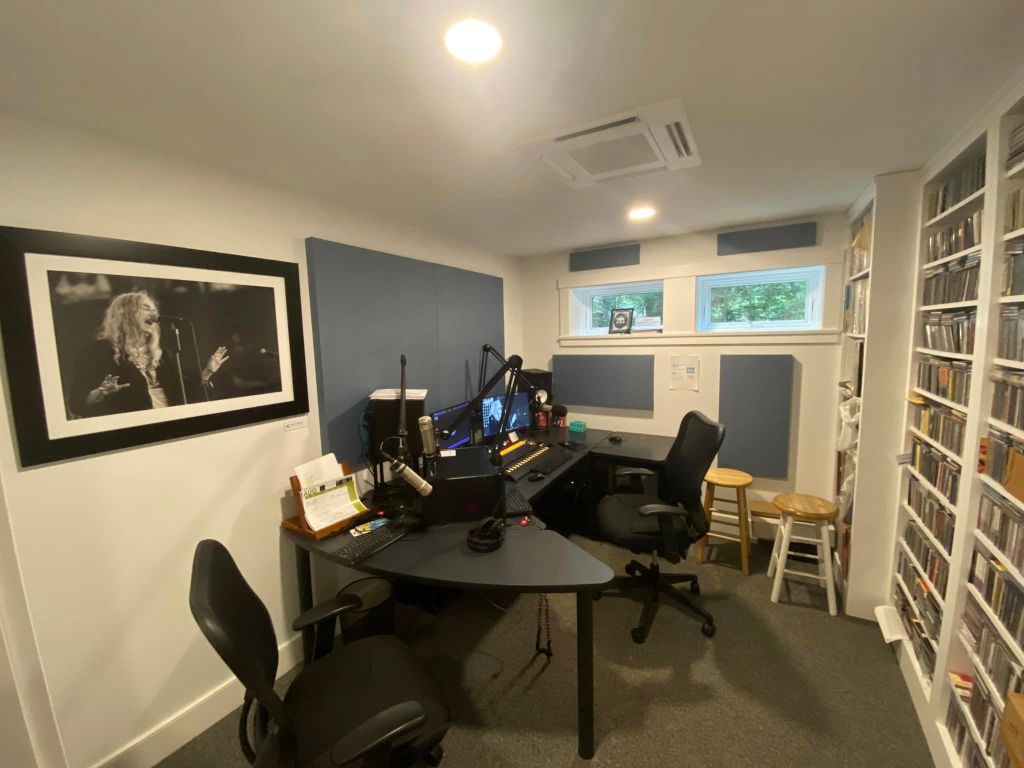
This is Production Studio A, aka “Patti Smith”. Technically we should move that framed picture of her and replace it with another panel, but aesthetically that would be a crime! Fortunately those two big panels behind the monitor are doing the bulk of the work, absorbing unwanted echoes, et al, from the DJ when they sit in front of the mix board. Worth noting: the panels by the windows line up visually better than they look in this slightly fisheyed camera perspective. But they don’t really line up measurement-wise with things on that wall, because the windows themselves don’t line up. It’s kinda weird, but it works better this way.
Production Studio B, aka Valerie June (yes, that’s a very nice pic of her in the frame on the right). More or less a mirror image of Studio A, it got similar panel treatment. The single (instead of double) window demanded a slightly different, but equally effective, design to the panels.

Production Studio C (aka Rachel Price, of Lake Street Dive) is really more of an office than a studio, but there’s still some recording that goes on in here. After some initial usage the staff suggested, and we agreed, to move the panel over to the opposite wall, and put Rachel’s framed pic on the back wall, left of the window. This room really needs more panels but it’s impressive how much better it sounds with just the one. It’s a big ‘un, of course, but still…
“Wrapping” Things Up
I mentioned earlier that there’s been an amusing side effect of fixing one acoustic problem only to unmask another? First it was getting the speakers up to the proper height and location, which exposed the slap echoes. Now that we’ve largely dealt with the slap echos and bass traps? We’ve discovered some of MVY’s earlier recordings are a bit, err, “primitive”. Not exactly “high def”, shall we say? So they’re embarking on a process of rooting out all the subpar cuts and replacing them with versions of better audio quality.
Even so, the DJ’s were thrilled by the improved acoustics overall. A typical comment was “What did you guys do in here? It sounds so much cleaner now!!” And one area where things got very noticeably better (in a good way) was during live music performances from the air studio. Everyone noticed how much cleaner and clearer all the instruments and singers sounded on the air.
Yay! Mission Accomplished!! And this was a really fun project, too. Real nice to see (well, hear) the fruits of your labor right away like this. 🙂

Leave a comment